Free motion embroidery for textile art - my top tips

When I’m teaching free motion embroidery in textile art there are questions that come up again and again.
I hope this summary of my tips and guidance will give you the confidence to have a go, find your style and get results you love.
I’ve only used my machine for traditional sewing. What do I need to know to get started with free motion embroidery for textile art?
The best place to look is my document on how to set up your sewing machine for free motion embroidery.
You can then get some spare fabric and have a go at sewing simple shapes. It will help you get used to sewing with a darning foot, and being able to move in any direction. Have a go at wavy lines, circles, squares and maybe some simple objects.
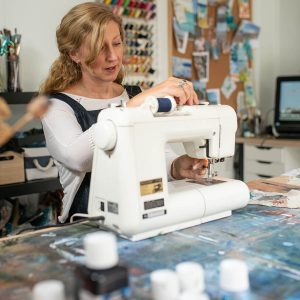
I find it hard to control the fabric once I start embroidering. How can I improve this?
It’s most likely that you’re not moving the fabric enough. If you’re a quilter or dressmaker, you’re used to using your sewing machine with the feed dogs up, which feeds the fabric through the machine for you.
With free motion embroidery, the feed dogs are down and you’re completely in control. So you need to consciously move the fabric through much more than you realise. See if this helps.
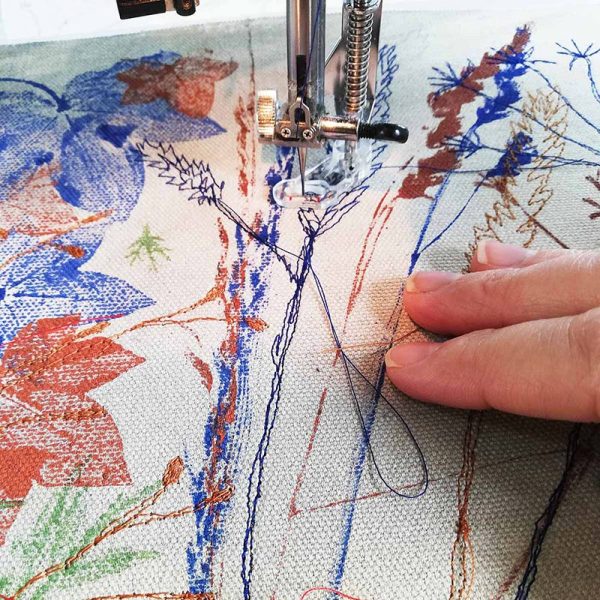
How can I get better results when I’m ‘drawing’ with free motion embroidery?
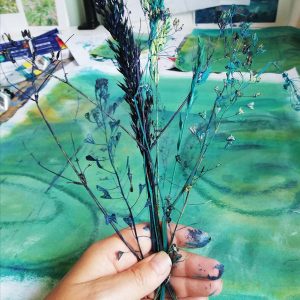
My inspiration comes from nature, and I love stitching plant shapes into my textile art.
Some of my students really struggle with this part, particularly those whose goal has always been the straightest possible hems and seams!
But drawing with your sewing machine is definitely something you can get better at.
Firstly, particularly if you’re drawing objects from nature, remember that nothing is perfect in real life. It’s all the imperfections that make things beautiful – all the bends, curves and tears. So, try not to be a perfectionist and you’ll get results that are more pleasing, and less ‘stiff’.
If you do want to represent something more accurately, you can draw onto your fabric with a textile erasable pen. Then it’s a case of following the line. You may be wobbly to start with, but you’ll soon develop more control.
Another tip is to focus on what you’re drawing, rather than always looking at the needle. If you were drawing with a pen you wouldn’t focus on the nib!
Many textile artists seem to feel they ‘can’t draw’, but you really can improve these skills by practising regularly in a sketchbook. I recommend sketching little and often, and with a pen, so you’re not tempted to rub it out.
And finally, remember to breathe! I often see first-timers looking so tense with their shoulders hunched. Remember that the point of free motion embroidery and textile art is to enjoy it! So do try to relaaaaaaaaax.
How do I know when I have enough embroidery on my artwork?
This is always a tough one, and a regular topic in the Flourish membership community. I find this decision difficult myself, especially when I’m thoroughly enjoying the process. Sometimes you just want to keep going!
But a textile mixed-media artwork is all about the balance between its different elements: the painted canvas, appliqué, mark-making, printing and embroidery.
My advice is to stop the minute you realise you’re questioning yourself. Walk away and come back with fresh eye, asking whether the artwork would benefit from more embroidery. Then listen to your gut and trust your instincts.
Do I need to use an embroidery ring?
It depends on the type of fabric you’re using, and how you like to work.
You may want to use an embroidery ring if your fabric is very light, to keep the fabric taut. You might simply feel most comfortable using one – it certainly can help you feel more in control of your fabric.
But I prefer not to. For me it defeats the object of free motion embroidery. There’s also the risk of it damaging your painting.
To keep my canvas stable I use a heavy iron-on interlining. I find this works brilliantly with my cotton canvases.
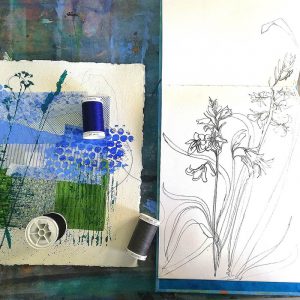
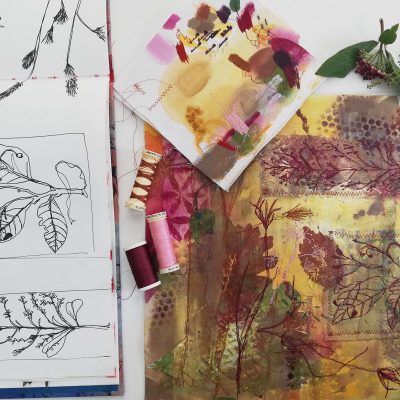
How do I choose the thread colours for my fabric painting?
I often hear “I wish I hadn’t used that thread colour now it’s finished”.
Of course, there’s no such thing as a ‘right’ or ‘wrong’ thread colour. But it is important for you to learn what pleases you.
You’ll need to decide whether you want your embroidery to stand out sharply, or to blend in, adding subtle texture. Do you want it to complement the tones of the painting? Or to inject a bold, contrasting colour? Do you want to use one thread for the entire artwork, or to use different colours for different elements? How do you feel about black? Or do you prefer a deep blue, brown or grey for your darker shades?
Answering these questions will help guide your choice.
I also recommend building in some time to play around with colour combinations, on spare fabric. You can paint the cotton with a selection of the colours you tend to use, then switch on your sewing machine and stitch over the colours with different threads.
If you do this every so often you’ll build up a library of colour combinations – an invaluable resource when you’re working on your next project.


Flourish textile art tutorials you may like:
- Sorry, this product cannot be purchased.